hello! long time no see! I’ve been very busy lately, being a diligent little jet setter and living out of one suitcase for an entire month … I do have a travel wardrobe post planned but it will take me little while!
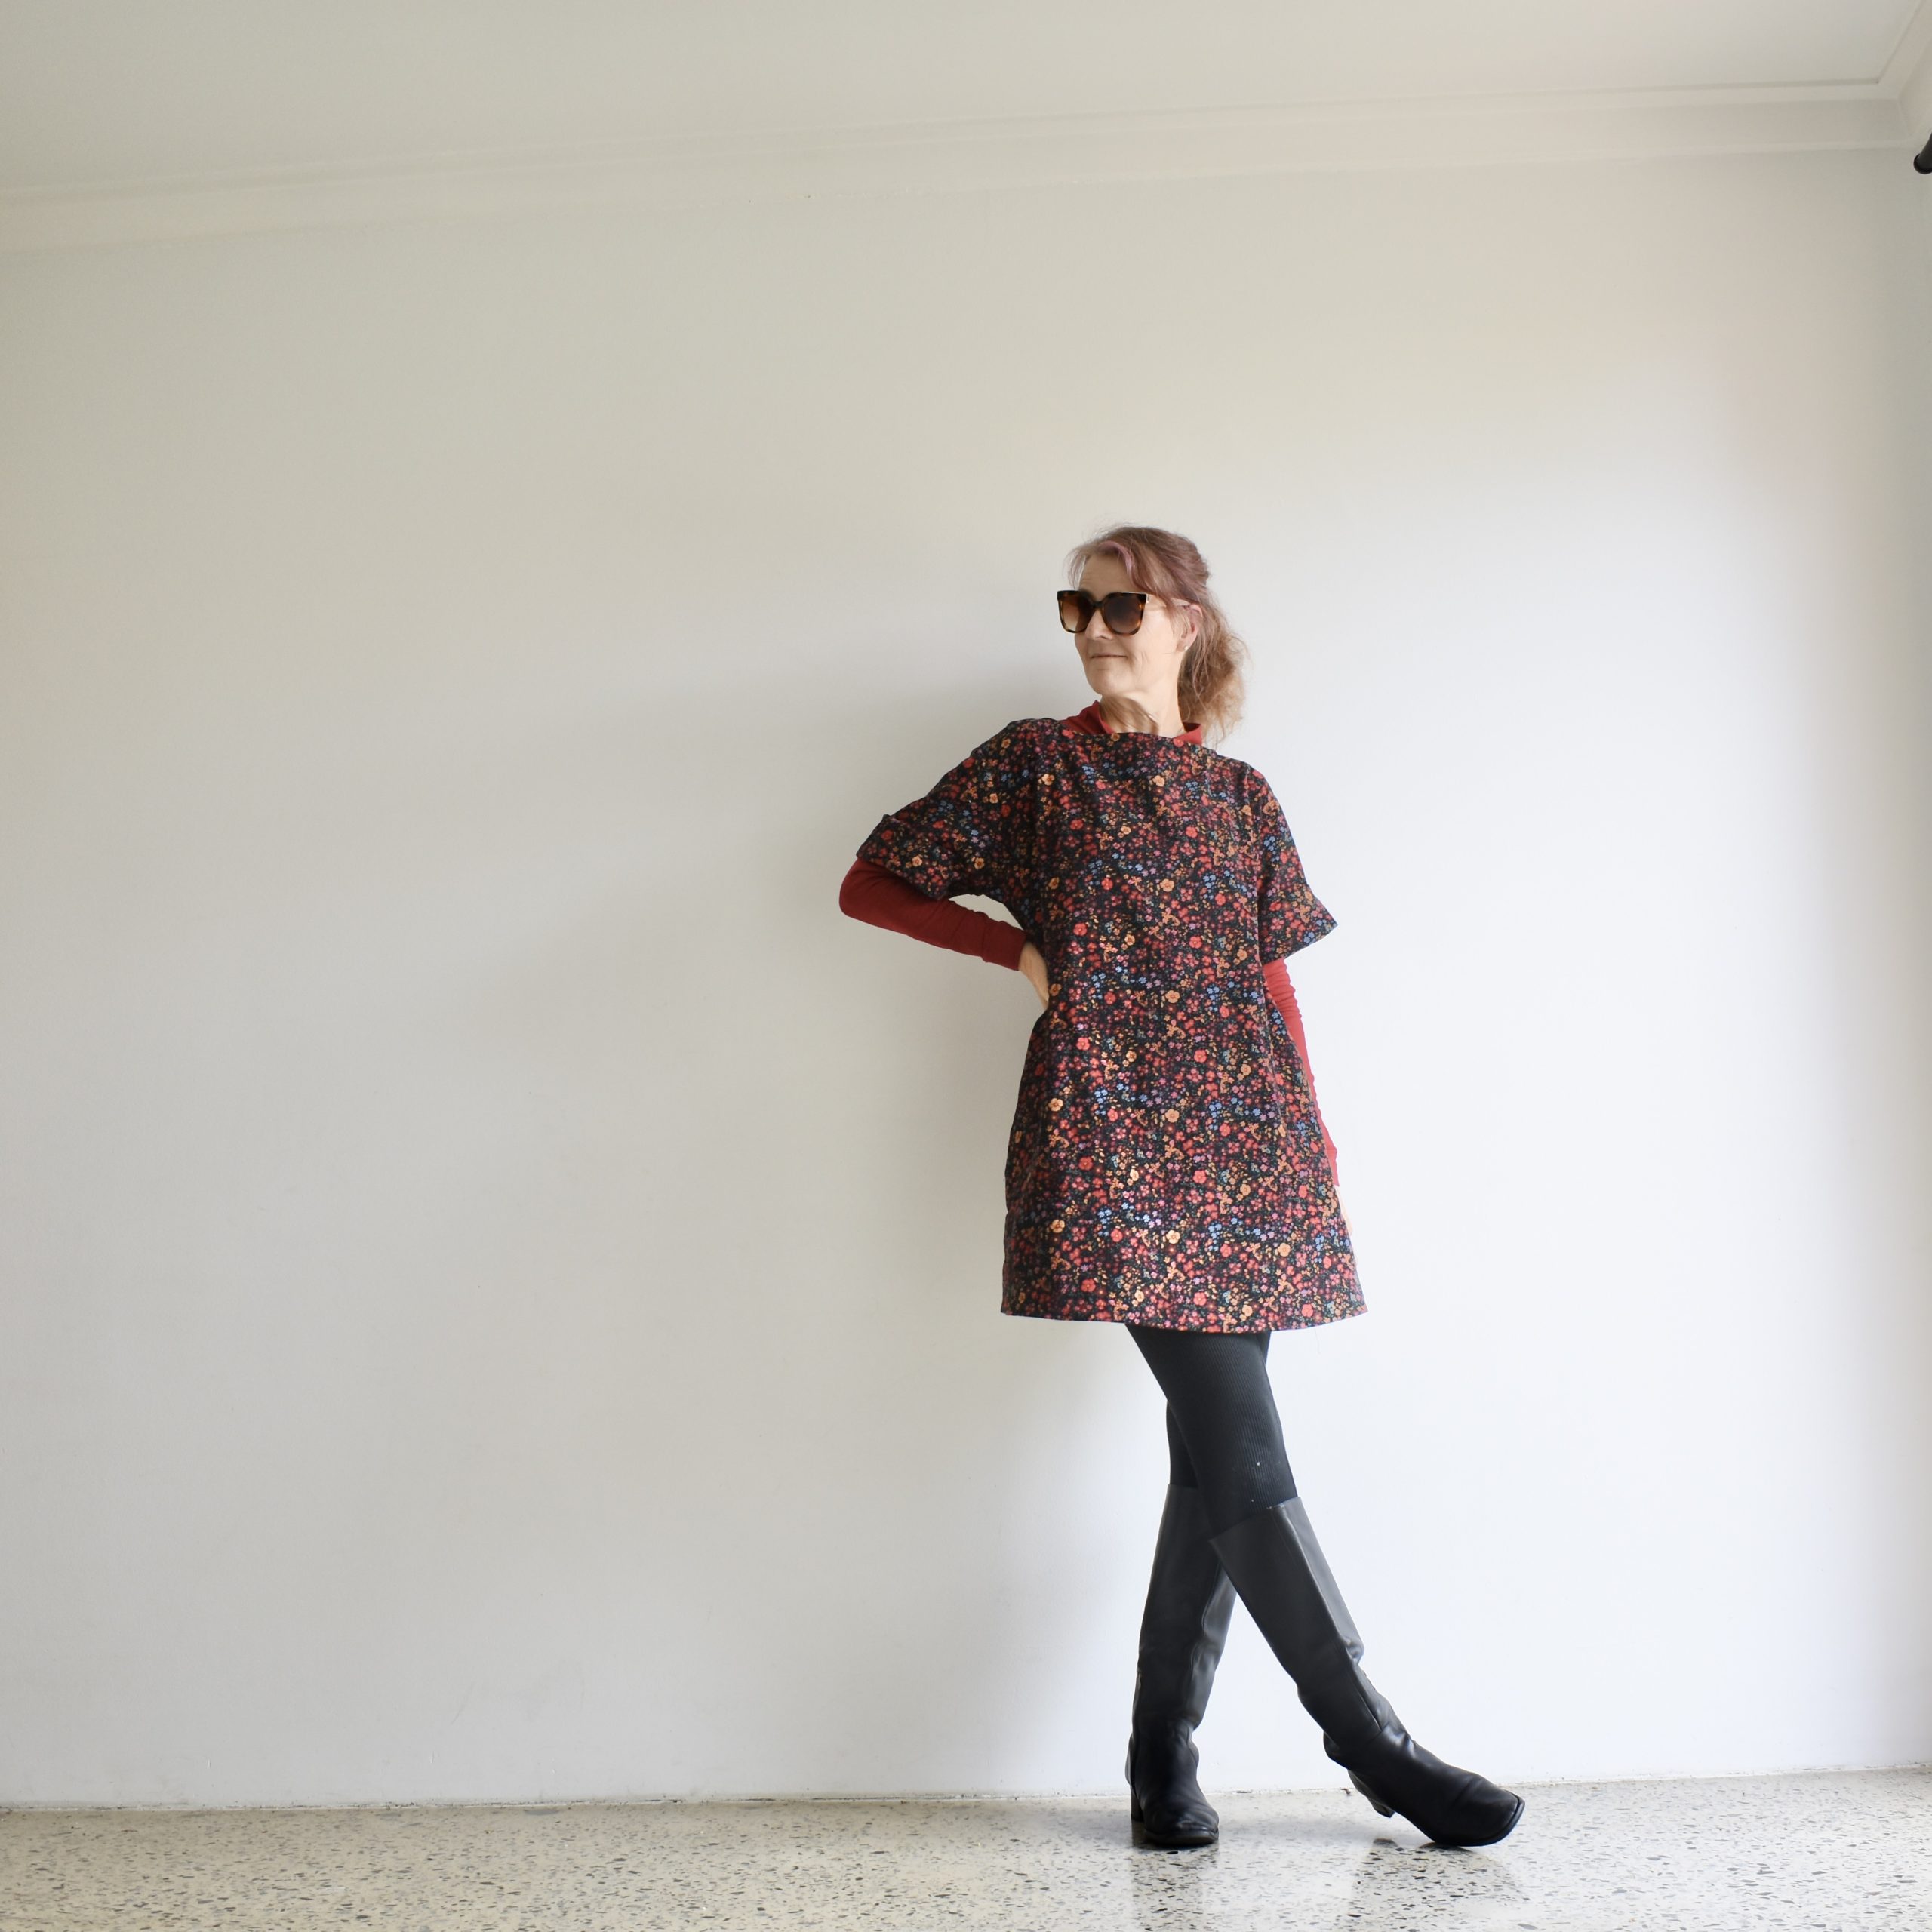
Anyway, I made a new dress before I left and took it away with me. I’ve worn it quite a lot already! and managed to take a few photos out in the wild. Not that top photo though. The other ones
babysitting my littlest grandson G.. I knitted his beanie early last year (posted here)
The pattern is the new Mirri pattern by Fibremood, a delightfully quick and easy thing to make; and I used a lightweight cotton corduroy bought from Spotlight just before covid lockdown if I remember correctly. I loved the pretty bright florals on black background, and luckily had “just” enough for this pattern.
feels pretty good even in 36C heat!
Surprisingly, it reads as kinda “brown” from a distance, probably because of the large-ish amount of orange and black merging together. Honestly I did not expect that effect!
The Mirri is supposed to be a summer pattern, of course; since the new European summer patterns are all released during our, southern hemisphere, winter… however I can still usually manage to wrangle something together that’s suitable for me, somehow, anyhow. As it happens, I’ve found this dress has been that rare happy and successful marriage between summer pattern/winter fabric… it’s loose enough to be breezy and therefore cool in hot weather, but then can be worn over tights and a warm merino top to keep you cosy in cold wintery weather too. Versatile!
It’s such an easy to make design there’s really not much to say. The neckline is finished with a bias cut strip and the pattern includes a lovely deep hemline facing, which I edged with the same orange linen bias binding. I think this looks so pretty. Designwise, it has deep side pockets and sleeve cuffs. Hmm, that’s it, really…
worn over my indigo dyed, linen Pauline Alice patterns Mestre shirt, blogged here.
And, I made something else new on the eve of our departure overseas… a backpack. I’ve never really worn a backpack much during our hiking travels but decided it was high time I got one so poor Craig didn’t have to carry everything in his backpack! I used this tutorial called “DIY 3-pocket casual backpack” by a Korean channel, Tendersmile Handmade. This was an absolute terrific tutorial, very easy to follow and I loved the final result.
I made mine from a tomato red water-resistant stuff that I bought many years ago, I think from a Morrison clothing company fabric sale. I already had some white waterproof plastic fabric, leftover from when I made a whole lot of luggage for some of my family for Christmas one year (here). I also interlined with some wool wadding between the two layers for a bit of padding. All these materials were from stash, and I bought the strapping, zip and plastic hardware from Spotlight.
I altered the dimensions by a bit; specifically making mine 10cm “higher”, and so made the side pockets a little higher to compensate proportionally. My zip was also a different length, so all the dimensions of the side, bottom and top pieces are different actually. It really wasn’t all that difficult to work out though.
I couldn’t get a zip like theirs that zipped from the middle out, mine zips from each outside edge in. This wasn’t ideal, but didn’t make a lot of difference. I also stitched the lining down firmly to the seam allowance inside to keep it firmly in place as far as I could possibly reach; the bottom and top edges, and part of the side edges. The tutorial doesn’t tell you to do this but I imagine the lining would just kind of float around inside the bag in an annoying way if you didn’t anchor it to the bag in a few key positions.
The backpack worked out really great! and would have been actually perfect if it had been for one small modification… to have a shoulder strap as well so I could carry it comfortably as a cross body bag if I wanted to. I desired this variation so greatly that since I returned home I did indeed pop off to Spotlight for all the necessary bits and added one. This can be removed if not in use. As well, I added a “made in 2025″label, that I’d forgotten when I first made it. Voila!
So this bag did absolutely great duty and I enjoyed making and wearing and using it. It passed the waterproof test on one day of continuous rain and all my stuff inside remained perfectly dry. My water bottle fitted in the side pocket just fine. Having three internal pockets worked well for how I like to arrange my stuff. I did think it possibly couldn’t carry a superheavy load, but then I wouldn’t want to do that anyway.
The post a cosy new dress and a backpack appeared first on Handmade by Carolyn.


