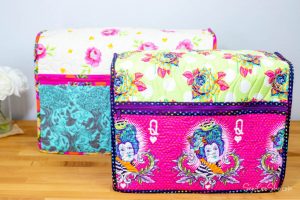
Sew a bound opening in your sewing machine cover or any other creative project using my easy step by step instructions.
I wrote these instructions to help my readers who wanted to add a handle opening to my free Sewing Machine Cover Pattern.
Besides adding it to a sewing machine cover, you could use it instead of bag handles or on a fabric basket.

This is an easy rectangular opening that you can make any size, depending on what you need.
It would be much easier to sew this bound opening before you sew the project together, but it may also be achieved after the project is made, depending on how large the item is.

Since I did not want to put an opening in the top of my sewing machine cover, I used a piece of scrap quilted material to demonstrate this technique. Your opening will look different depending on the project that you are putting it in.
You will need:
- The sewing machine cover body piece or other piece that you want to add a bound opening to
- masking tape
- rotary cutter and scissors
- a piece of binding fabric 2” wide and long enough to sew around the entire opening plus 2-4”
- Wonderclips

Mark the Opening with Masking Tape
1. If you are using this technique for a sewing machine cover, lay the body piece over the intended sewing machine.
Note: Make sure the right side of the cover is facing out (I changed my mind and used the turquoise as my lining so don’t let that throw you!).

2. Use masking tape to mark the exact size, shape, and location that you want the opening to be.
Masking tape is handy here because you can move it around and adjust it until it is exactly where you want the opening to be.
Again, make sure that the masking tape is marking the right side (outside) of your cover to ensure the the opening is in the right place.

Cut the Opening
At this point I moved my masking tape to a piece of scrap material because I did not want a handle opening in my sewing machine cover. Why let the dust in?

1. Use a rotary cutter and scissors to help you cut a clean opening around the edges of the masking tape.

2. ‘Seal’ the edges of the opening by sewing with a long basting stitch 1/8” from the edge.

Attach the Binding
1. Fold the 2” wide binding strip in half lengthwise and press.

2. Line the raw edge of the binding up with the raw edge of the opening on the right side (outside) of your quilted piece.
Leave a 4” tail of binding and begin sewing around the opening, using a 1/4” seam allowance.

When you reach a corner, sew 1/4” past the corner. Backstitch and remove the piece from your sewing machine.

Turn the binding to align it with the next side of the opening. Place your needle down in the spot 1/4” past the corner and continue sewing.

A sewing stiletto is very helpful for holding the binding in place as you sew.

End sewing after you have turned the last corner and when you are 4-6” away from the place where you started.

Join the Ends of the Binding
1. Bring the ends of the binding together and fold them back where they meet. Crease this fold with your fingernail.

2. Cut away the extra binding 1/4” past each crease.

3. Place the ends of the binding right sides together and stitch with a 1/4” seam allowance.
Finger press the seam open and re-fold the binding as before.

4. Finish sewing the binding to the opening.

Finish Binding the Opening
1. Make 1/4” clips into each corner of the opening to help the binding turn nicely. Be careful not to cut the stitching.

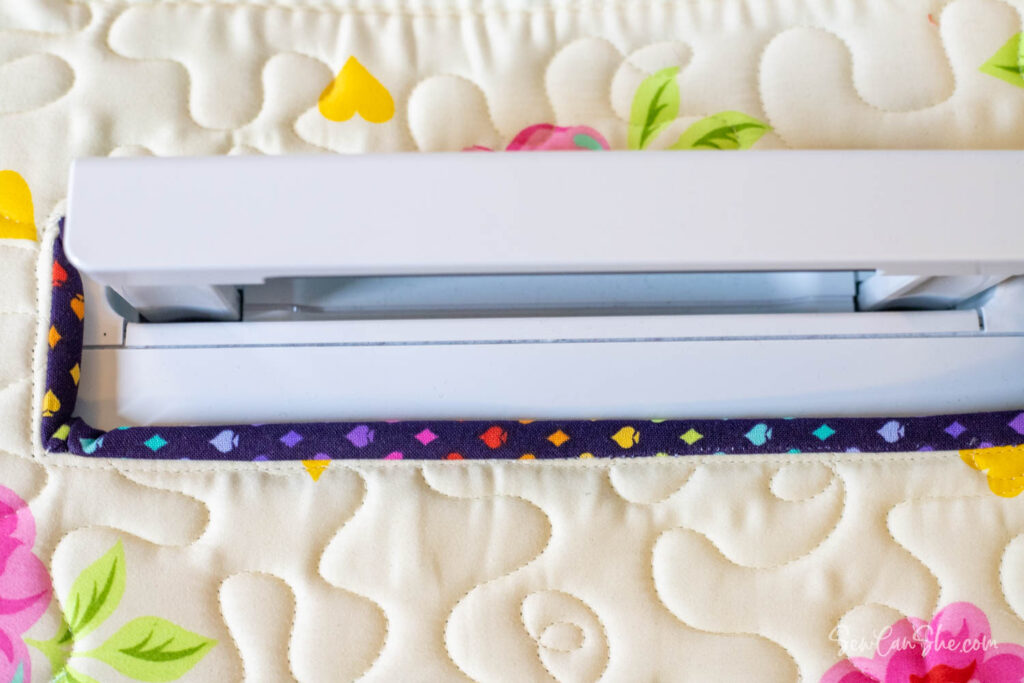
2. Fold the binding around to the inside of the cover (or item). Take your time to help the binding fold neatly at the corners.
Use lots of wonderclips to hold the binding in place.

3. Carefully sew the binding down close to the fold all the way around.


